iT Factor logo iT FactorSelf Tape Studio

Search The Help Center

Need another walkthrough?

Search the guide hub or jump into the exact setup and workflow steps this day-one path points to.

Getting Started

You do not need to learn the whole app on day one.

iT Factor works best when you learn it in the same order you would use it in real life: set up your essentials, create a project, record, review, and export. This guide is here to keep that first day calm and doable.

If you only remember one thing, let it be this: get the basics in place, then keep moving. You can come back for the advanced tools later.

iT Factor marketing image showing the app workflow on iPhone

Quick Start

The simplest first-day path.

Do this first

  • Open Home
  • Tap the spinner coin to enter ActorKit
  • Use Edit Profile to complete the basics in Actor Profile Wizard
  • Return to Home and create your first project

Then keep moving

  • Open the new project in Project Lobby
  • Record your scene and slate
  • Review in Take Review
  • Export the file you want to send
Step 1

Start at Home, then open ActorKit

Home is your dashboard. The spinner coin in the center opens ActorKit, which is your professional workspace inside the app.

Home helps you
  • Open ActorKit
  • Open Settings or Archives
  • Start a new project
  • Return to active work later
ActorKit holds
  • Headshots
  • Resume
  • Size Card
  • Rep information and actor details
Good first move
  • Tap the spinner coin
  • Then use Edit Profile in ActorKit

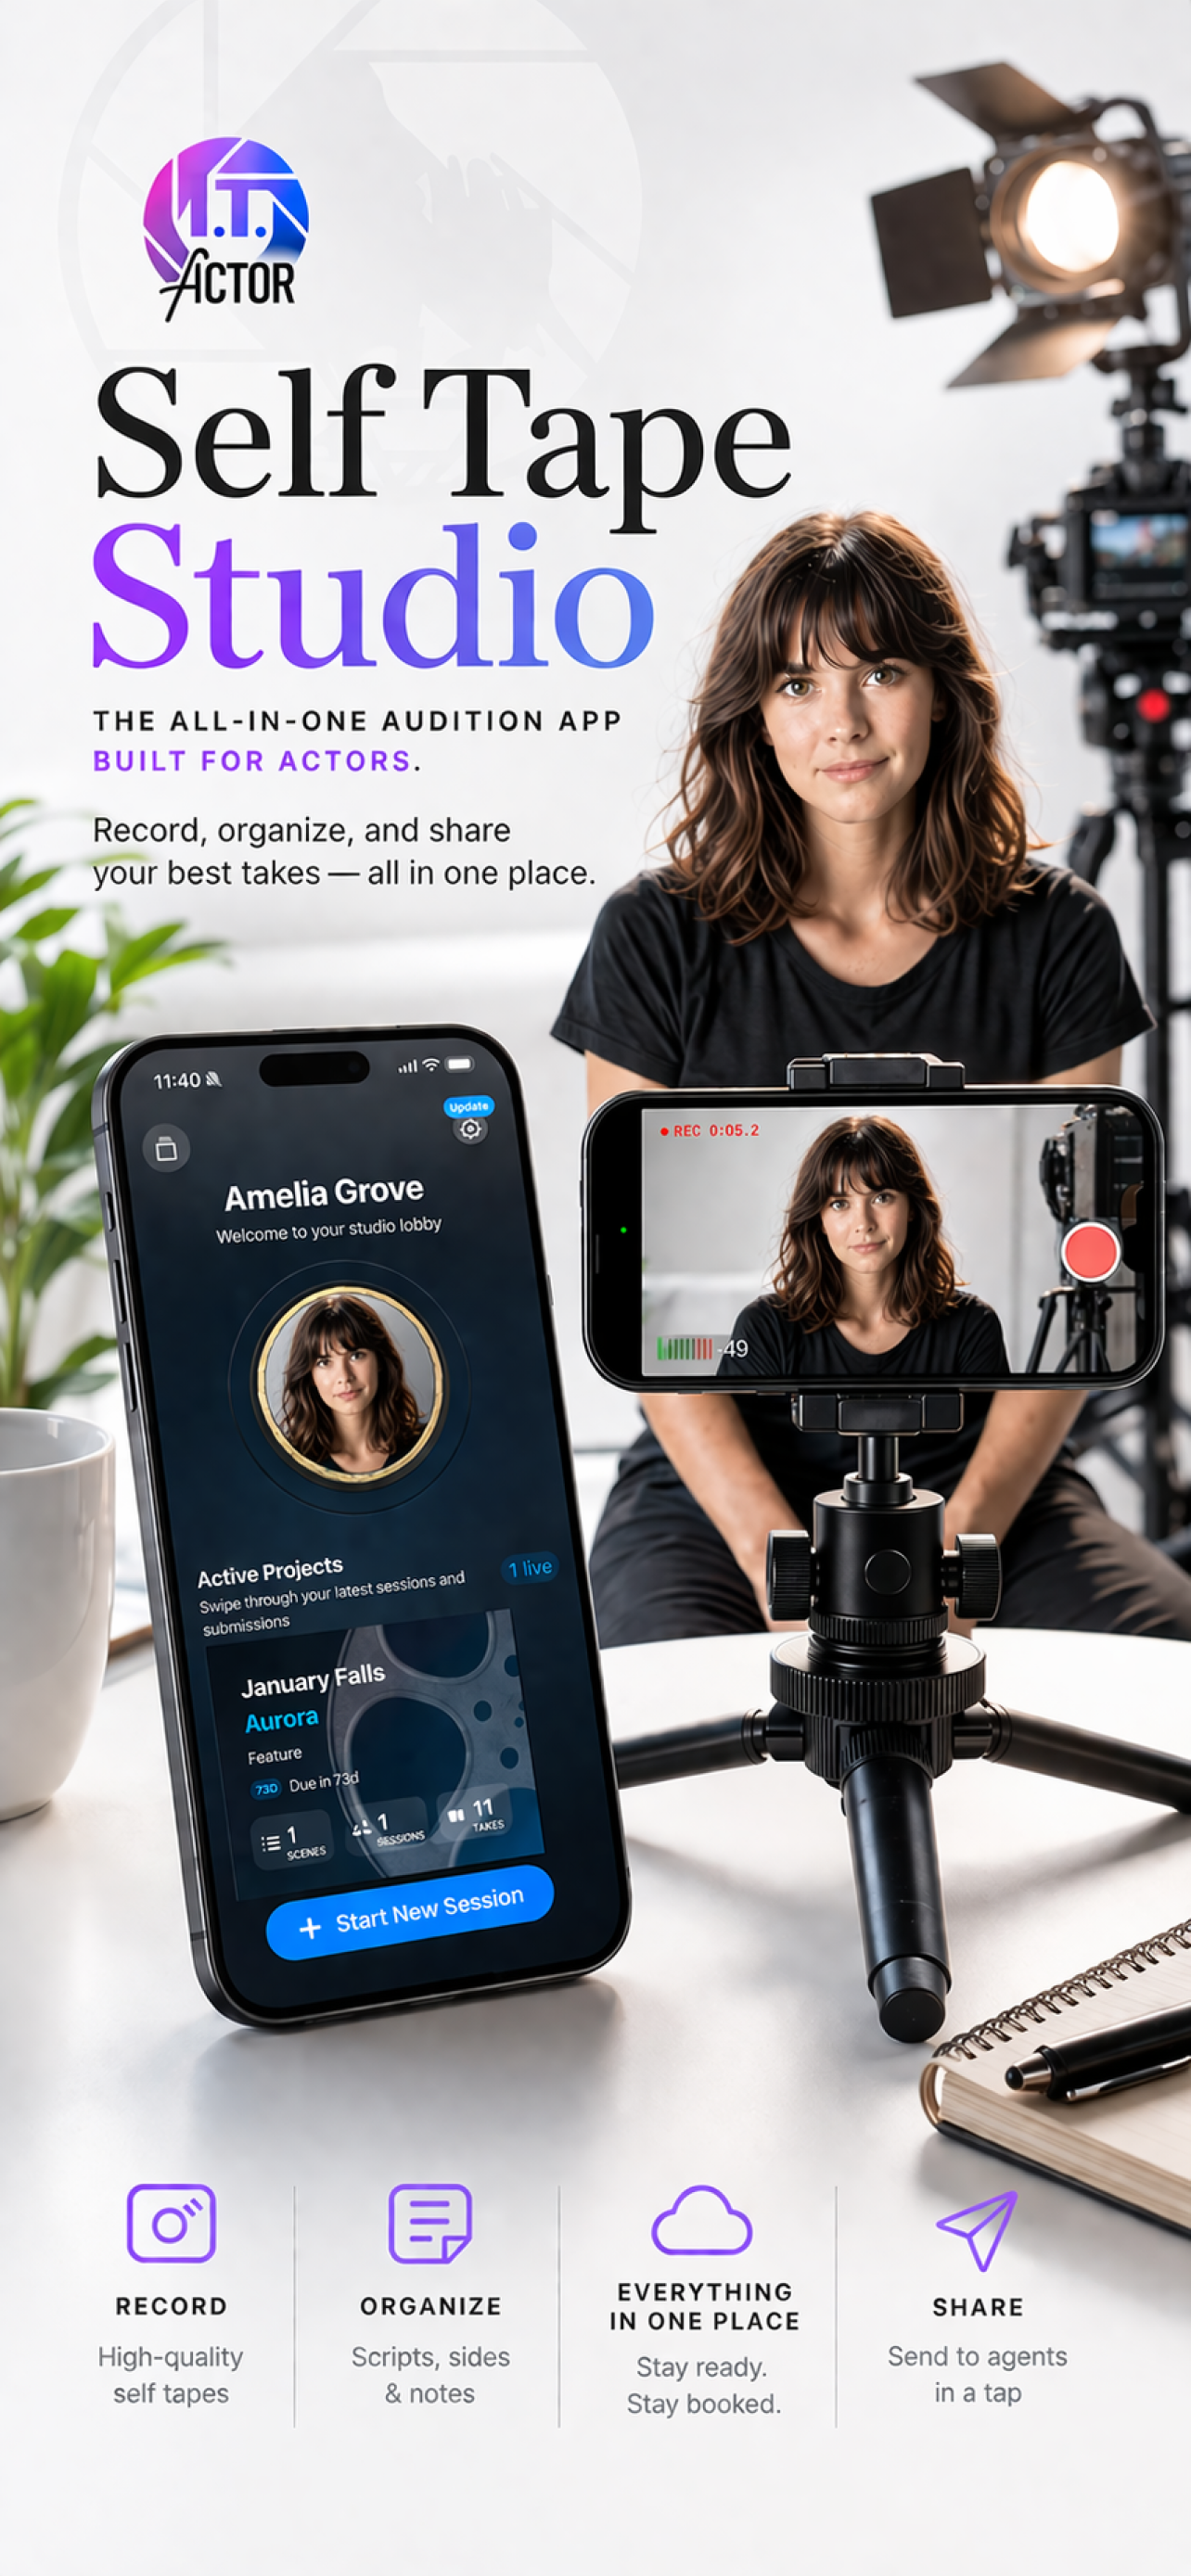
You do not need to understand every part of ActorKit right away. On day one, you mostly need it as the doorway into your profile setup.

Step 2

Complete the basics in Actor Profile Wizard

This is where iT Factor learns the core information it uses across the app.

Most helpful first-day items
  • Your name
  • At least one headshot
  • Your resume if you have it
  • Basic size details if you plan to use Size Card Creator
It is fine to skip for now
  • Detailed measurements
  • Representation you do not have yet
  • Less urgent contact details
Why it matters
  • It feeds ActorKit
  • It powers Smart Slate and profile-based tools
  • It keeps future setup lighter

The goal is not perfection. The goal is enough clean information to make the rest of the app feel helpful instead of empty.

Step 3

Create your first project, then use Project Lobby as the hub

Back on Home, use Create Your First Project or Start New Session to open the New Project Wizard.

Most important project details
  • Project title
  • Role name
  • Enough detail to recognize the audition
Can wait until later
  • Extra casting details
  • Project metadata you do not have yet
  • Fine-tuned slate wording
After the wizard
  • You land in Project Lobby
  • That becomes the home base for that audition or role

Project Lobby is where the project starts to feel organized. It gives you a clear place to return between recording, review, and final delivery.

Step 4

Record, review, and export

Once the project exists, the main working flow is straightforward: record in the camera session, review in Take Review, then export the file you want to send.

For the camera session
  • Stay in Scene mode first
  • Record your scene takes
  • Record a slate if needed
  • Capture a keyframe photo if helpful
For Take Review
  • Compare your scene takes
  • Mark a clear favorite
  • Keep the review focused and simple
For export
  • Use Final takes
  • Choose a clean output
  • Share when you trust the result

This is the core app journey. You do not need to master every toggle on the first day to get through it successfully.

Step 5

Know what can wait until later

Day one goes more smoothly when you give yourself permission not to learn every advanced feature immediately.

Usually safe to leave for later
  • Advanced size card customization
  • Detailed camera settings
  • Backups and restore tools
  • Archive cleanup
What matters more
  • Accurate basics
  • One clear project
  • A clean recording and review flow
If you feel overwhelmed
  • Think in three buckets: materials, project, recorded work
  • Handle one bucket at a time

iT Factor should feel like your friend, assistant, tech guide, and mobile office. The point is to reduce stress around the audition workflow, not add another layer of it.

Quick Help

A few first-day details explained.

Edit Profile in ActorKit

That is the doorway back into Actor Profile Wizard. If you need to change profile details, that is where to go.

Start New Session

Use this if you already have projects. If you do not, Home will show Create Your First Project instead.

Project Lobby

This is the project-specific home base you return to between recording sessions.

Take Review

This is where you compare takes and decide what you actually want to send.

Export versus submitted

Export prepares the file. Submitted is the status that tells the app the tape was actually sent.

Day-one pressure

Nothing breaks if you leave advanced tools for later. The app is built so you can grow into it.

FAQ

Quick answers before you move on.

Do I need to learn everything in iT Factor on the first day?
No. The most useful first-day path is profile basics, one project, recording, review, and export.
What if I do not have every profile detail ready?
That is fine. Add the essentials now and come back for the rest later.
What if I do not have all the audition details yet?
You can still create the project with the basics and update it later when more details arrive.
What is the most important thing to remember?
Keep moving in a simple order: profile, project, record, review, export.

Related Guides

Keep going when you are ready.

PreviousHelp Center

Return to the guide hub.

NextHome Screen

Learn the dashboard that anchors the rest of the app.

Download iT Factor

Start with the essentials and let the rest come into focus later.

The best first day is the one that gets you working with less stress, not the one that turns into a marathon setup session.